Rock polishing is a fascinating and immersive pastime that has grown in popularity in recent years, particularly so during the pandemic, this is partly as it is a hobby that can be enjoyed at home with the family and everything that you need to get started can be purchased online if necessary. However, not everyone can afford to spend their hard earned dollars on rock tumbling, this is the process where the rocks are tumbled using a rock tumbler, either the more common rotary version or a vibratory rock tumbler. This article will demonstrate that you do not necessarily need to use a rock tumbler to achieve beautifully smooth and polished stones, it may be more of a physical challenge to do it this way, but it can be a faster process, depending upon how much work you put into it of course. Anyone who enjoys the highly addictive pastime of polishing rocks without a tumbler is likely to tell you that this is a much more satisfying way of doing it, with the effort involved making the end results much more gratifying.
Can all rocks be polished?
Before you begin your journey into the wonderful world of rock polishing without the use of a rock tumbler, you should take some time to research the subject, this is important because you will find that not all rocks are equal when it comes to rock polishing and it would be extremely frustrating to work hard on a rock that is never going to become shiny.
A basic rule of thumb when it comes to choosing the best rocks (or rough, as they are often called prior to polishing) is that the harder the rock, the better the results, you will find that the harder rocks will usually already appear to be rather shiny. Any rock that looks or feels soft, or has a gritty texture, is not likely to polish and may even break as you are working on it.
Most people with experience in searching for rocks to use for rock polishing (affectionately known as rock hounds) will carry a penknife in order to carry out a quick check when in doubt, scratching the surface of a rock can tell you how hard it is, if the blade leaves a line then the stone is not suitable for polishing and should be discarded.
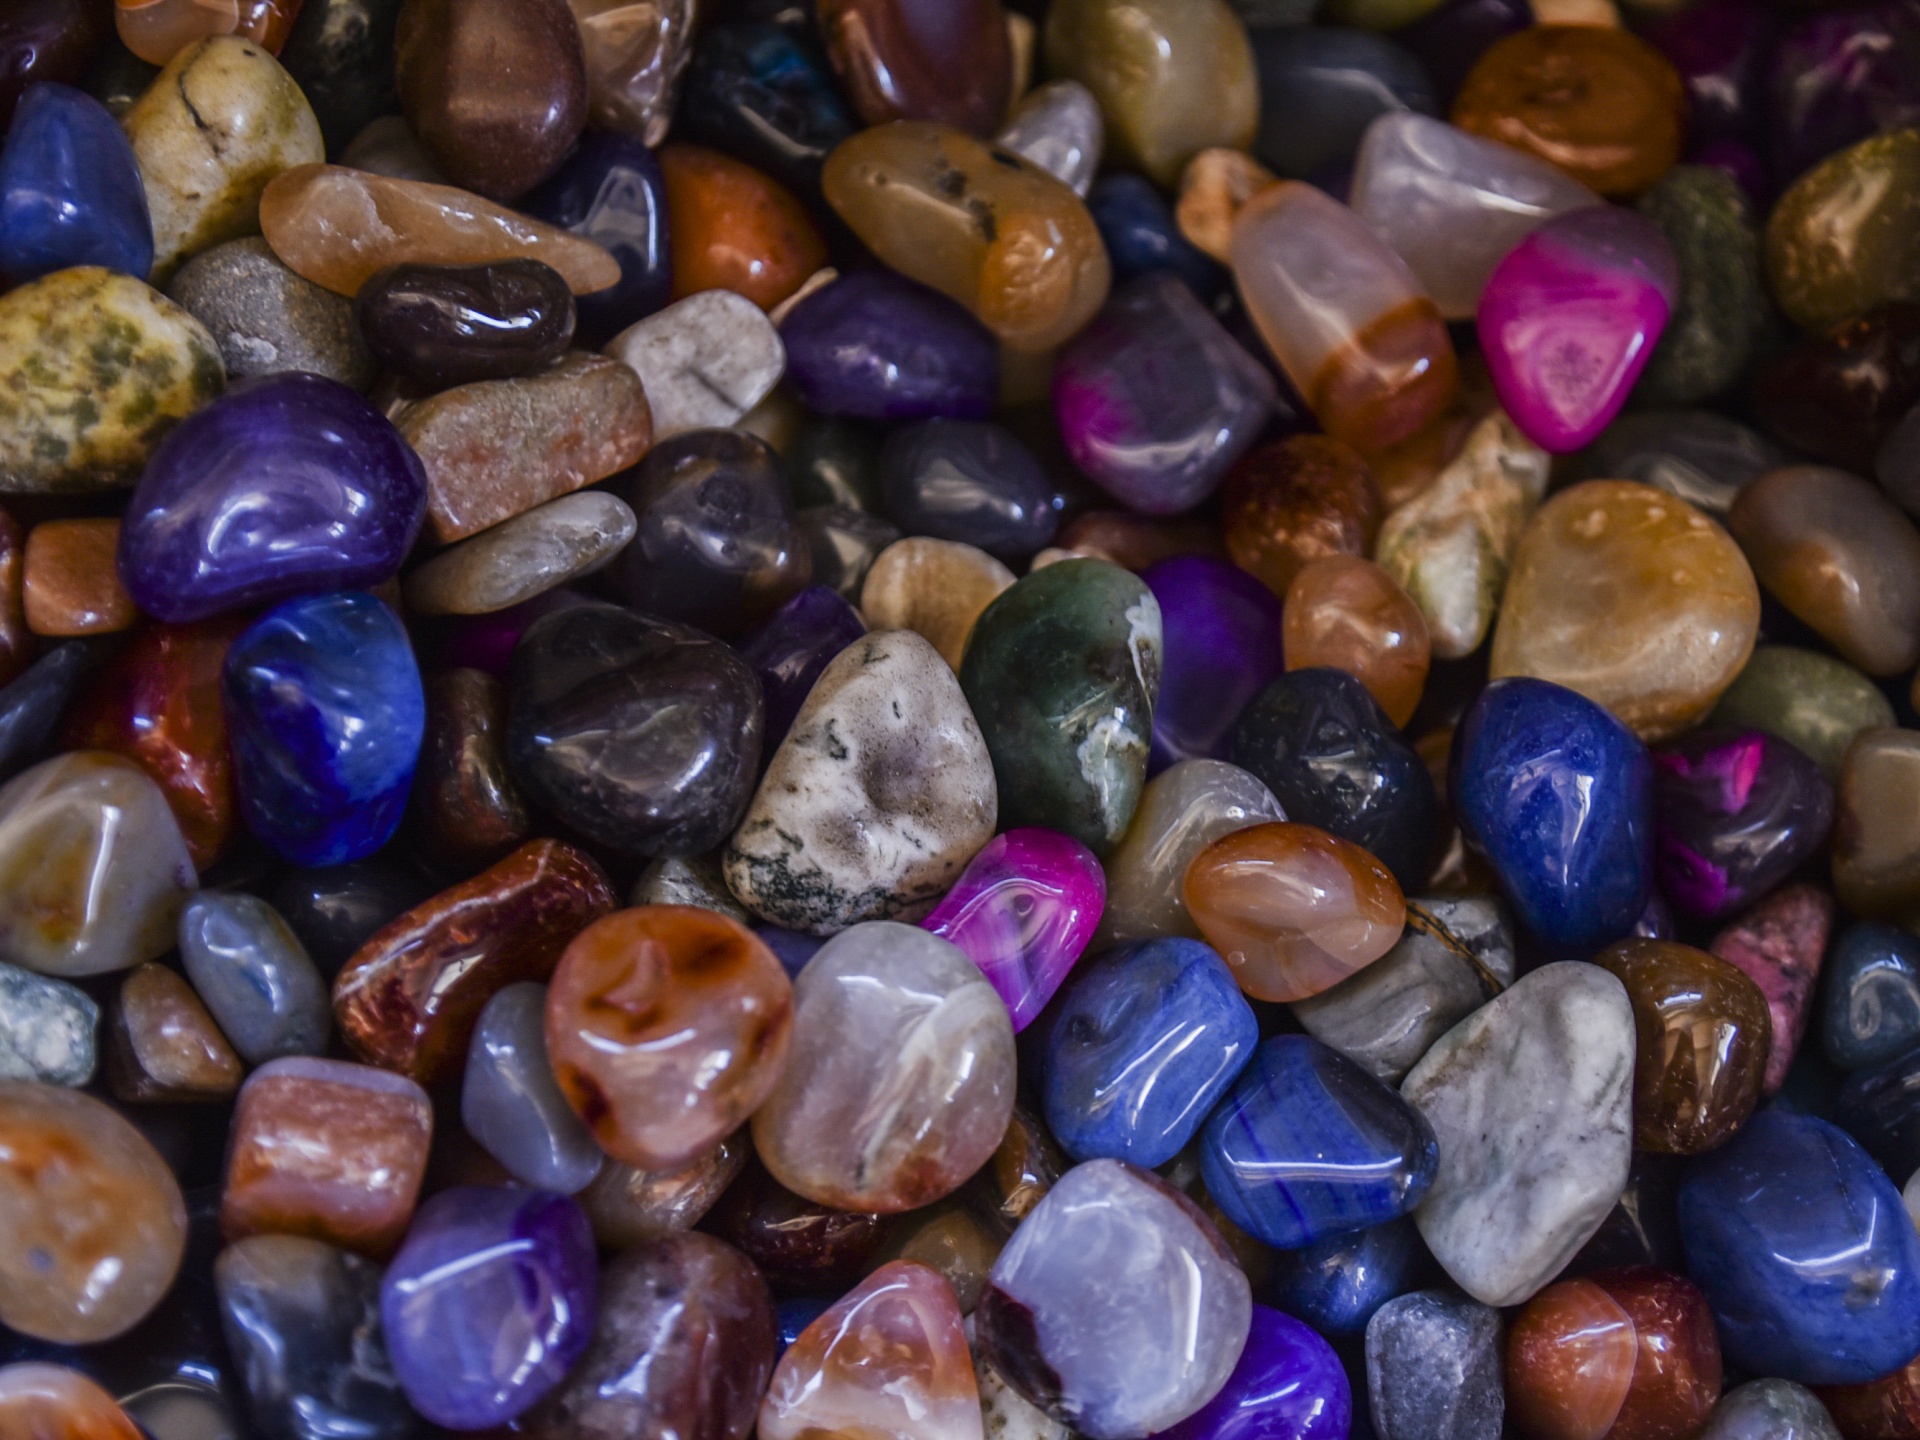
Which are the best rocks for polishing?
As previously mentioned, the best and easiest rocks for polishing, either with or without a rock tumbler, are the hardest, the densest and preferably the smoothest. The following are rocks that are popular with rock hounds as they are highly suitable for rock polishing:
| Agate | Amazonite | Aventurine |
| Feldspars | Dalmation stone | Hematite |
| Howlite | Jasper | Labradorite |
| Moonstone | Obsidian | Petrified wood |
| Sodalite | Sunstone | Tiger’s eye |
| Quartz | Unakite |
These rocks are considered to be the best for rock polishing because they are attractive, dense and very hard, some are easy to find and many of them come in an amazing array of colours, often they are opaque, translucent or even transparent.
There are a range of attractive, softer rocks that are suitable for rock polishing without the use of a rock tumbler, these include:
| Calcite | Dolomite | Fluorite |
| Limestone | Onyx |
It is important to take care when polishing the above rocks and they can often break during the process, this is why it is generally felt that they are more suitable for rock polishing without a rock tumbler.
Do I need special equipment to polish rocks without a tumbler?
There are a number of methods of polishing rocks without the use of a rock tumbler and any budding rock hounds who need to stick within a tight budget will be pleased to learn that investing in expensive equipment or tools is not always necessary, in fact, you will likely already have some of the kit at home or in your workshop.
Firstly, you should consider where you will be hunting for rocks, you are likely to be heading out into some rough terrain so it will make sense to wear some good walking boots, a strong backpack will be suitable for carrying rocks but you may want to take some sealable bags along with you to keep the rocks sorted. Rocks that you are particularly pleased with should be wrapped in cloth or bubble wrap to protect them.
When you first find your rocks they are likely to be dusty, jagged and grubby looking, some may even be too large and will require cutting down to a size that is more to your requirements.
Scrubbing
The first thing you should do when you get home with your bag of rough rocks is to soak them in a bucket of hot, soapy water, preferably overnight but for a few hours at least. A good long soak will help to break down any dirt and grime, this will make the next process a lot easier – scrubbing! Scrubbing a rock with a scrubbing brush, nail brush or old toothbrush will remove any residual dirt and will allow you to properly see its potential, for instance, where you might cut it to reduce its size or how you might change its shape by cutting or grinding odd angles or protrusions.
Safety First
Before any cutting or grinding of rocks takes place it is imperative that you always wear protective clothing, a good quality face mask, safety goggles and protective gloves are the minimum requirements. Always hold the rock in a clamp or vice to keep it securely in place. Always work in a well ventilated area.
Cutting or Grinding
A hammer and chisel are suitable for cutting a rock in order to reduce its size, this is the simplest and least costly way to do it, you can also use a tile saw but this will be a more expensive piece of equipment. An angle grinder is also suitable, or for smaller rocks you could use a hand held rotary tool.
Sanding
The next stage of the process is sanding, this can be done using emery cloth or sandpaper, take care as to which grit you use as any rocks that are soft or already quite smooth will not need the coarse grit stage. You may also find that you have an appropriate attachment for sanding with your rotary tool kit, this will be easier on your muscles and will probably be faster. Always rinse the rock regularly in water during the sanding process, this will clear any dust and debris.
Polishing
Once your rocks have been sanded to smooth perfection you are ready to begin the final stage of polishing, your stones should already look amazing but polishing will bring out the incredible colors and sheer beauty. Products suitable for polishing stones are powdered stone polish, diatomaceous earth and car wax, although many experienced rock hounds have their own custom recipes. Always follow the instructions fully and keep products away from children and animals.
Rock polishing, the art of cutting, shaping and polishing rocks is also known as lapidary, it is an absorbing and addictive hobby that is enjoyed by enthusiasts around the world. As we have shown, rock polishing does not need to be a costly pastime, particularly if it is done without an expensive rock tumbler, with hard work and patience, you will soon have an admirable collection of stunningly beautiful specimens.